
Hi, welcome to my cloud blog. In this article you will learn what to do to receive notifications regarding disk usage on EC2. In the article I will explain how to send notifications from CloudWatch to any e-mail address.
If you are curious how to additionally receive such notifications on Slack or via Microsoft Teams, check out the article Notifications from AWS on MS Teams – Wojciech Lepczyński blog (lepczynski.it)
In this tutorial, you will learn how to receive e-mail notifications when disk usage exceeds 80%. Don’t worry, I’ll explain step by step what you need to do. If you prefer to watch tutorials instead of reading them, I have good news, you will find this video tutorial on YouTube.
If you don’t know how to monitor RAM yet, I have great news. I recorded some time ago a tutorial also on this subject How to Monitor EC2 Memory Usage – EC2 Custom Metrics in AWS CloudWatch – 2022 – YouTube.
Let’s get to the point, prepare a delicious coffee for yourself and gain new knowledge by reading this article 🙂
IAM Role and appropriate permissions
Hello again, I hope you have coffee or your favorite drink with you, because not everyone has to like coffee 😉
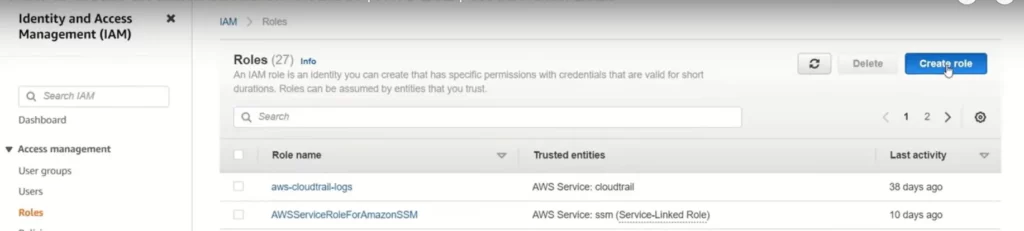
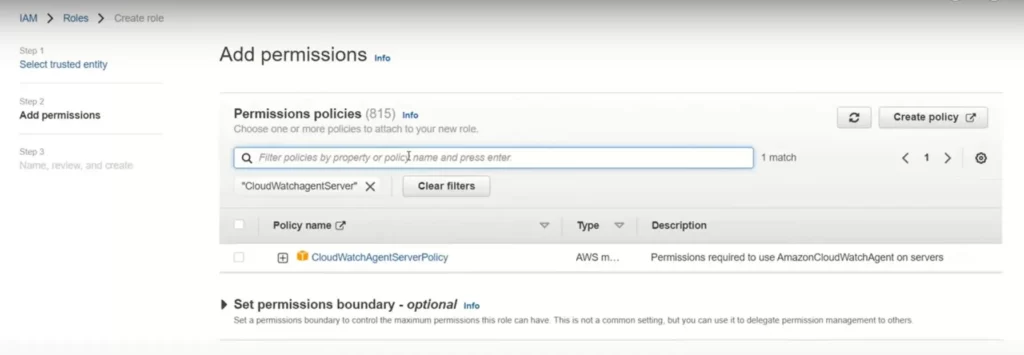
Security is essential, so first create a new IAM role that allows you to send data to CloudWatch CloudWatchAgentServerPolicy.
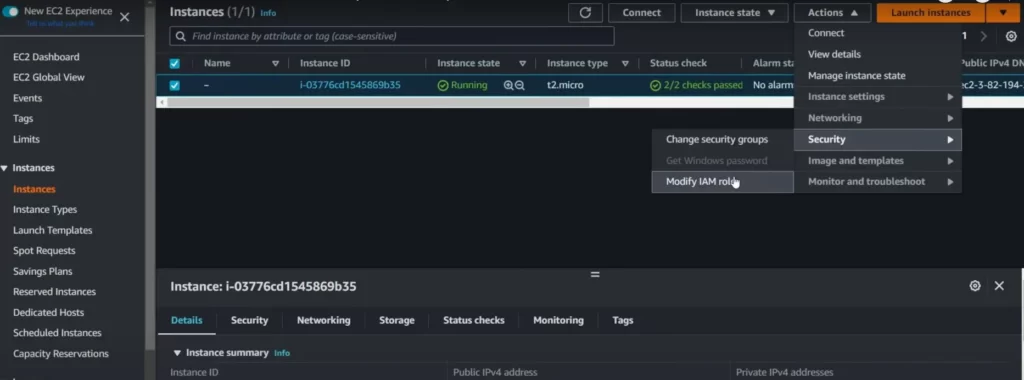
Now all you need to do is add this role to EC2. This role will allow you to send data from EC2 to CloudWatch.
CloudWatch Agent configuration
In addition to the appropriate permissions, you also need a CloudWatch agent on EC2 that will send data.
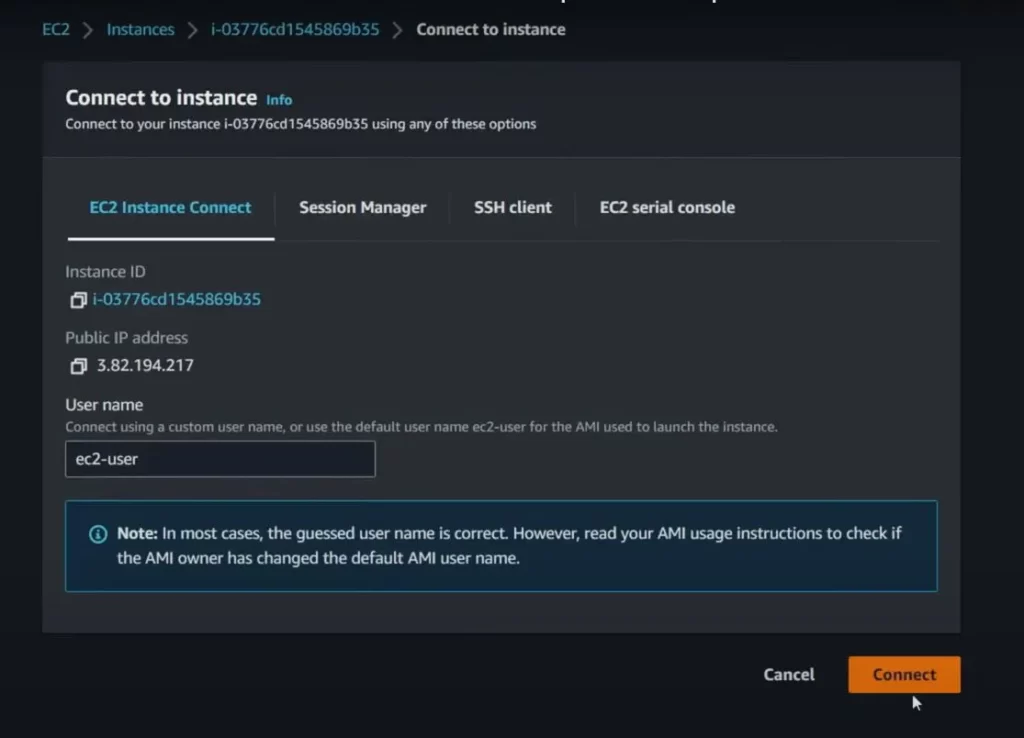
I slightly changed the configuration from my article on RAM monitoring and this time it monitors disk space. First, go to tmp and download the CloudWatch agent:
cd /tmp
wget https://s3.amazonaws.com/amazoncloudwatch-agent/amazon_linux/amd64/latest/amazon-cloudwatch-agent.rpm
Be sure to use the version intended for your system and the appropriate commands, below are examples for other systems:
- https://s3.amazonaws.com/amazoncloudwatch-agent/amazon_linux/amd64/latest/amazon-cloudwatch-agent.rpm
- https://s3.amazonaws.com/amazoncloudwatch-agent/centos/amd64/latest/amazon-cloudwatch-agent.rpm
- https://s3.amazonaws.com/amazoncloudwatch-agent/debian/amd64/latest/amazon-cloudwatch-agent.deb
- https://s3.amazonaws.com/amazoncloudwatch-agent/ubuntu/amd64/latest/amazon-cloudwatch-agent.deb
Now you can install the agent using e.g. RPM with the -U option. If the agent was already installed, it will be updated:
sudo rpm -U amazon-cloudwatch-agent.rpmIf you downloaded another type you can use:
sudo dpkg -i -E ./amazon-cloudwatch-agent.deb
msiexec /i amazon-cloudwatch-agent.msi
After installation, edit or create a configuration file, which should usually be in /opt/aws/amazon-cloudwatch-agent/etc/amazon-cloudwatch-agent.json. You can use e.g. vi or any other editor:
sudo vi /opt/aws/amazon-cloudwatch-agent/etc/amazon-cloudwatch-agent.jsonYou can copy the content of my configuration file shown below and create your own based on it. In my case, the agent will check disk usage every 5 minutes and send data to CloudWatch every 5 minutes. I recommend sending more information. I created a simple configuration to make it easier for beginners to understand the topic, and the file was more readable.
{
  "agent": {
    "metrics_collection_interval": 320,
    "run_as_user": "cwagent"
  },
  "metrics": {
    "append_dimensions": {
        "InstanceId": "${aws:InstanceId}"
    },
    "metrics_collected": {
      "disk": {
        "measurement": [
          "used_percent"
        ],
        "metrics_collection_interval": 320,
        "resources": [
          "/"
        ]
      }
    }
  }
}
For more information about CloudWatch, see the documentation. You can also use the wizard to create a configuration file Create the CloudWatch agent configuration file with the wizard – Amazon CloudWatch.
Now you can restart the agent. To be sure that it has read the new configuration, you can look at the logs, e.g. using tail:
sudo systemctl restart amazon-cloudwatch-agent
tail -f /opt/aws/amazon-cloudwatch-agent/logs/amazon-cloudwatch-agent.log
Sending notifications
Alright let’s get to work. If your agent is working properly, you should be able to see what it is sending in ClodWatch:
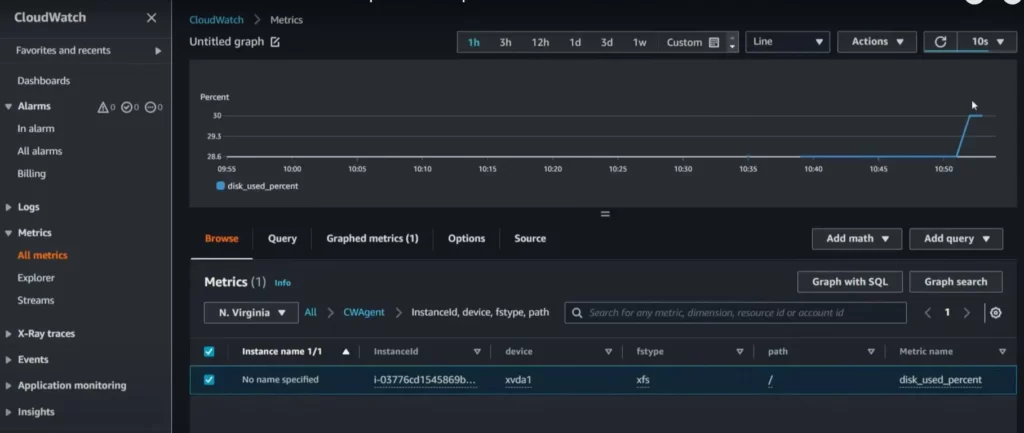
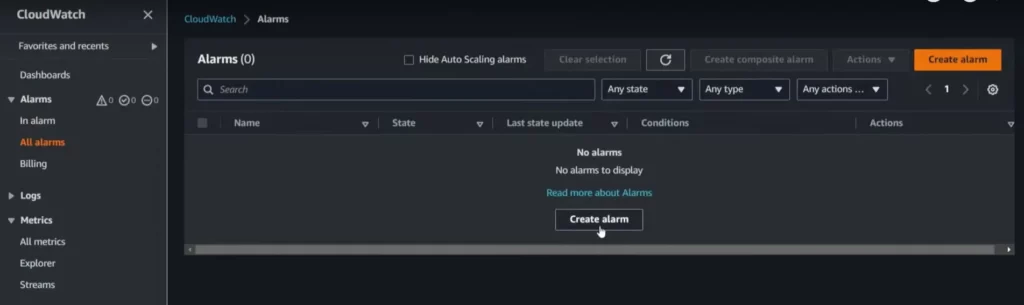
Don’t worry, it may take a while for the data to appear. When everything is ok, select Alarms and All alarms from the menu on the left. You can click Create alert:
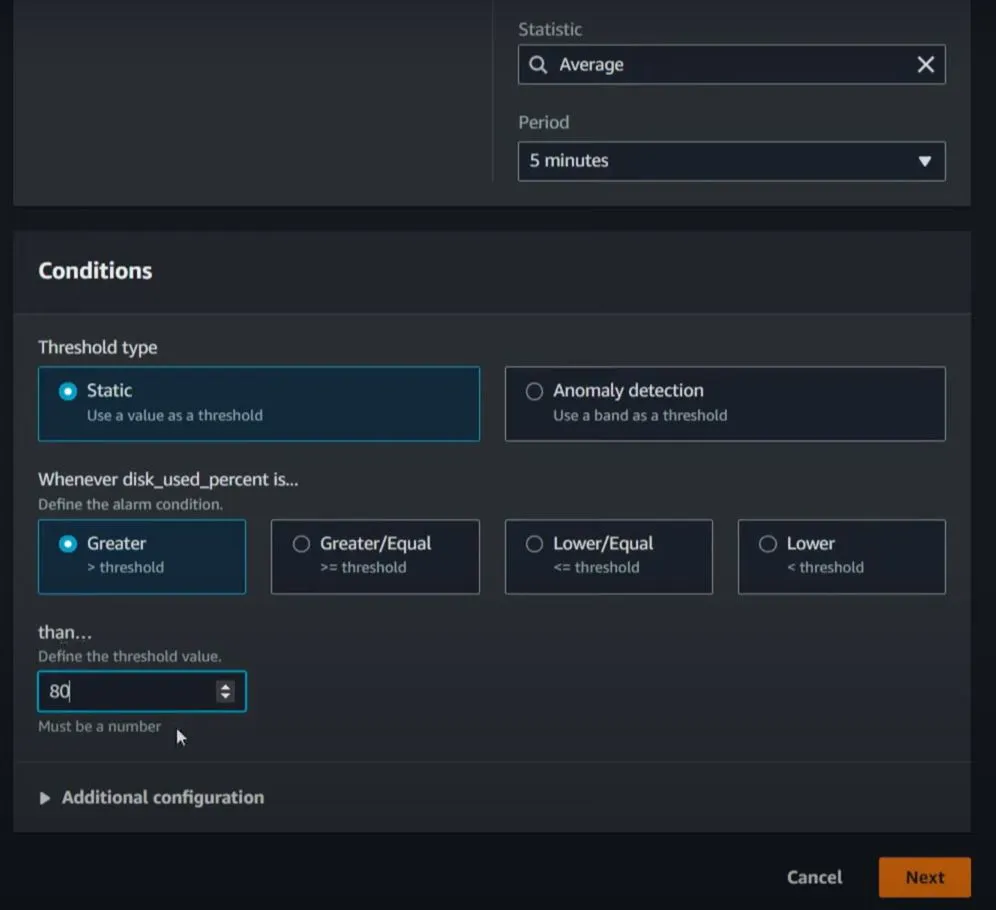
Select the metric on which you want to create an alert. In my case disk_used_percent. When configuring, make sure Static and Greater are checked. I use the value 80 because I want to receive an alert when the disk space is 80%.
In the next step, select a topic if you have created it before or create a new one if you have not done so yet and enter the e-mail address or addresses to which the notification should be sent.
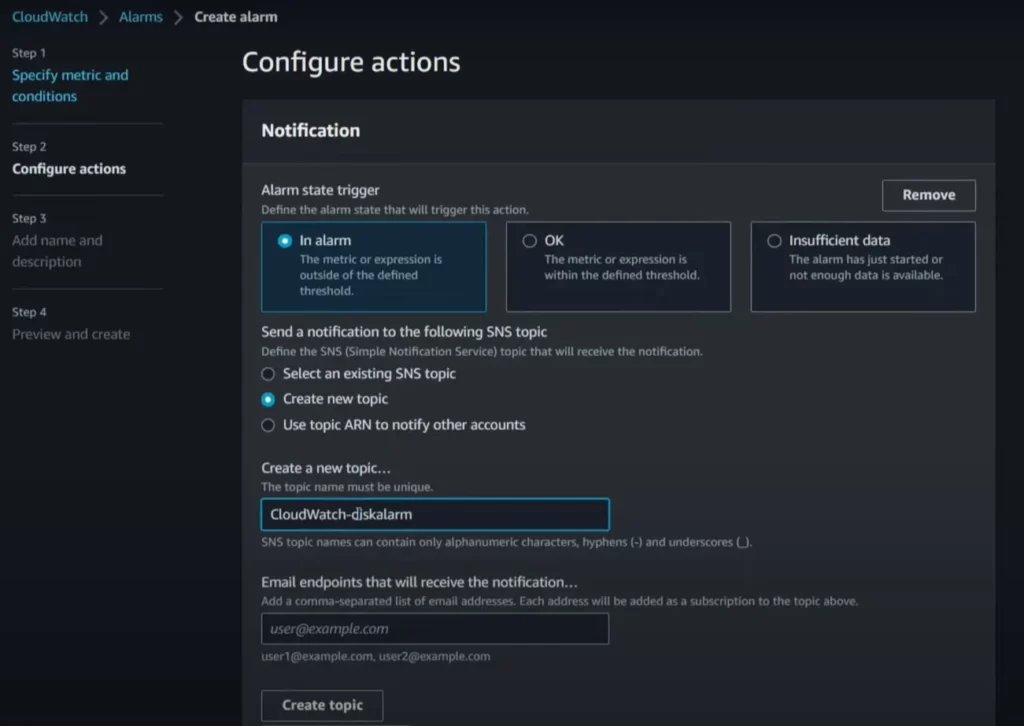
Below you can also add an action to be performed. In the next step you enter a name for the alarm and you can add an additional description. Check in the summary if everything is correct and create an alarm.
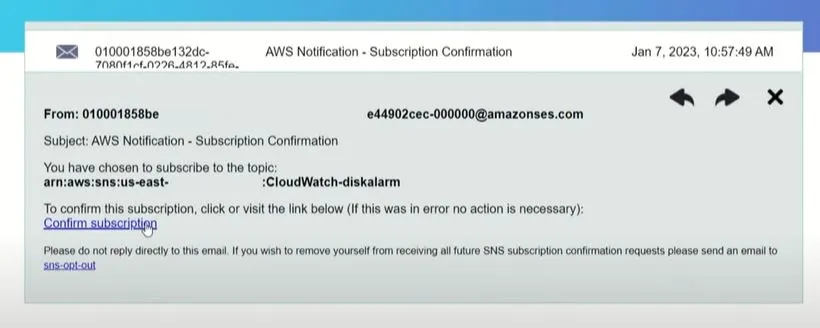
Remember that after creating an alarm, you still need to confirm your subscription. Only then will you receive notifications.
Summary
As you can see, adding alarms is easy and it’s worth being informed about problems.
You can also add another alarm. I recommend creating several levels of notifications. For example, all team members can receive the first alert when the disk space usage exceeds 80%. The second, let’s say that when the disk space usage exceeds 90%, additional team leader.
Thanks to this, the team leader will be notified only in serious cases. You don’t have to enter all the email addresses one by one, it’s a good idea to create an email alias.
Okay, that’s all for this article. Thanks for reading it to the end 🙂 Hope you enjoyed it. I will try to make the new content even better and that there will be no annoying ads on the blog. In return, I am asking you to recommend this blog and my content on the web. It helps me keep this blog and sharing knowledge with more people. If you want to see more tutorials, I encourage you to visit my YouTube channel Wojciech Lepczyński – YouTube.