
Hi today, a quick topic on swap the disk containing the operating system OS in virtual machines (VM) in Azure. In the article I will show that it can be done easily and quickly using Powershell.
Why do this? Why replace disks?
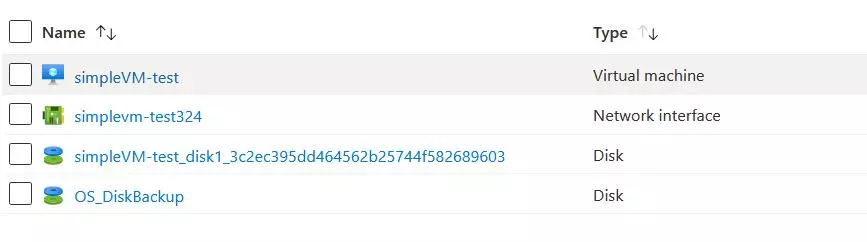
I like to back up disks in a virtual machine before complicated operations. Make such a backup that in case of an error you can quickly return to the state before the changes. Plus, there are tons of other reasons to start with backing up existing machines, as not everyone has to use Azure Backup.
It can also come in handy when updating machines that already exist. On one VM, we can test the changes, and if everything works, copy the disk with patches and connect it to another VM.
I used to use this disk swapping also when moving machines between subscriptions, then it was enough to copy the snapshoot with Storage Account to another subscription and you could easily restore the VM in the new subscription. There are lots of uses.
How to do it?
In the past, you could only replace the disk with another disk in the VM using poweshell or CLI. Currently, it can be done using the portal, but … well, sometimes there are problems, errors pop up, or Azure does not detect the disk with the system that we could use for replacement.
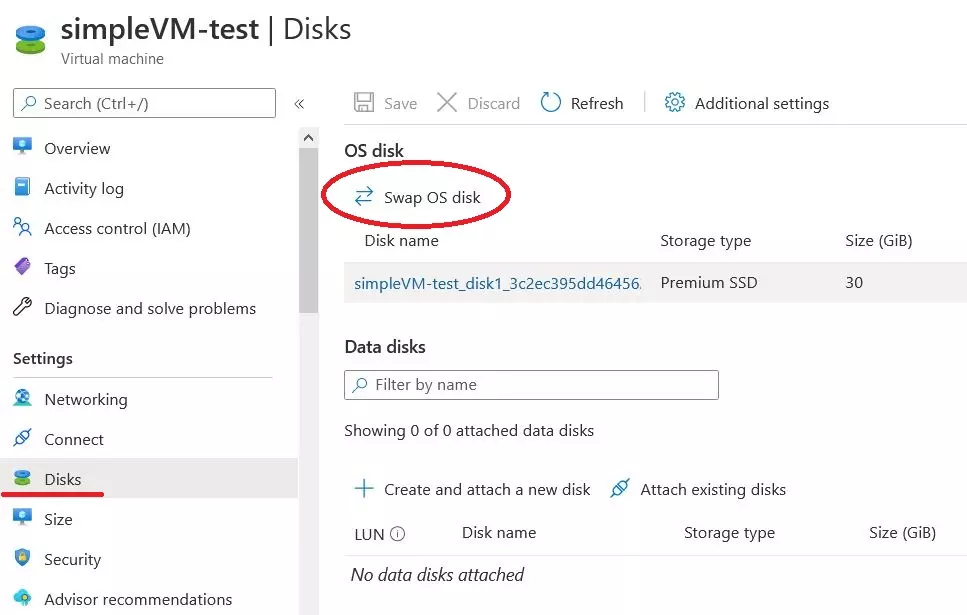
In this case, it’s best to use the old methods.
To replace the disk with the system on the virtual, we need to turn off the virtual machine and have the disk we want to use ready in the same subscription.
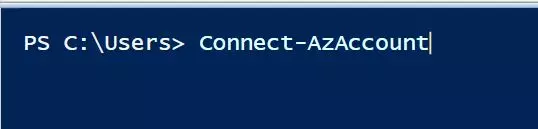
We open Powershell and log into our subscription:
We are correcting the script below. Assuming that the disk and machine are in the same resource group, instead of XXXXXXXX we give the name:
- the disk we want to replace
- virtual machine
- resource group
$DiskBackupName = XXXXXXXXX
$VMName = XXXXXXXXX
$ResourceGroupName = XXXXXXXXX

$vm = Get-AzureRmVM -ResourceGroupName $ResourceGroupName -Name $VMName
$disk = Get-AzureRmDisk -ResourceGroupName $ResourceGroupName -Name $DiskBackupName

Set-AzureRmVMOSDisk -VM $vm -ManagedDiskId $disk.Id -Name $disk.Name
Update-AzureRmVM -ResourceGroupName $ResourceGroupName -VM $vm
You can also use a newer version of the script (use just Az instead of AzureRM):
$DiskBackupName = XXXXXXXXX
$VMName = XXXXXXXXX
$ResourceGroupName = XXXXXXXXX

$vm = Get-AzVM -ResourceGroupName $ResourceGroupName -Name $VMName
$disk = Get-AzDisk -ResourceGroupName $ResourceGroupName -Name $DiskBackupName

Set-AzVMOSDisk -VM $vm -ManagedDiskId $disk.Id -Name $disk.Name
Update-AzVM -ResourceGroupName $ResourceGroupName -VM $vm
That’s it, we run the corrected script, and when the command is executed, we can start our virtual machine with a new disk.
The script can be expanded by turning off the VM itself before replacing the disk and turning it on after the replacement, but here I wanted to simplify it.
More information on virtual machines can be found on the Microsoft website: https://docs.microsoft.com/en-us/azure/virtual-machines/
If you liked the article on OS disks swap of an Azure VM, then check out the others related to Azure, you will find them in the azure category.
Thank you ‘lerun’ for the reminder on AzureRm. The article has been updated.
Comments are closed.